Introduction
SpookyLicense is an “easy” reverse engineering challenge offered by HackTheBox, with “easy” in quotes as this one took me a considerable amount of effort. I am fairly new to reversing challenges and reverse engineering in general, but that’s what these are all about—learning new things. This was just my experience and there may be—as they say—more than one way to crack an egg. With all that being said, this is how I managed to solve the challenge.
Basic Analysis
After unzipping the downloaded challenge, we can begin by running the file command to understand a little bit about the file. We can see here that the file is an ELF executable, made to run on Linux.
All work in this section was completed within the remnux linux distribution.

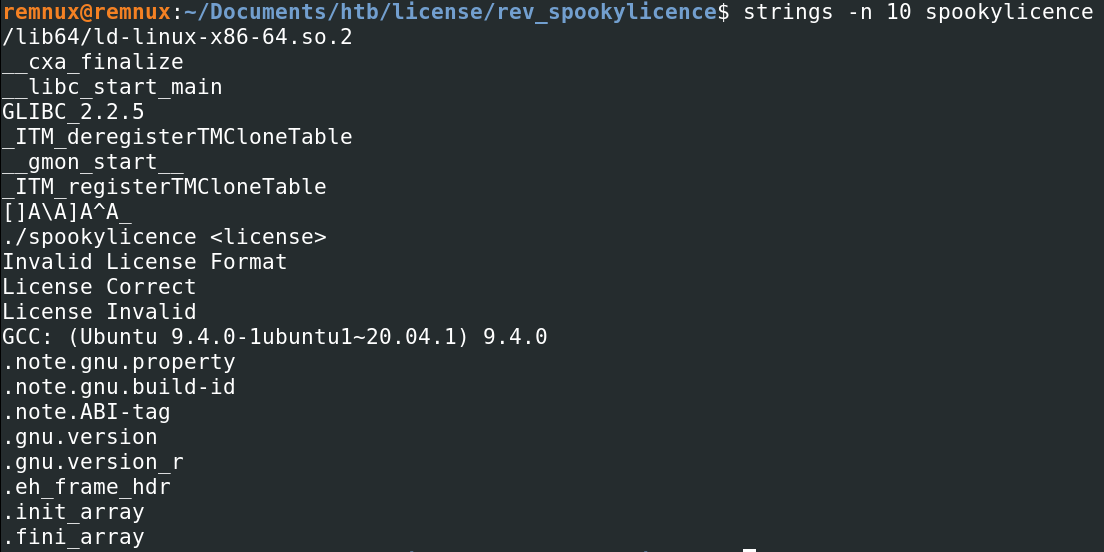
We then want to take a quick peek at the static strings, which we can achieve by either running the strings command, floss tool or by opening the file in a disassembler such as Cutter and viewing the strings from there. We can see some interesting lines here, but nothing overly important.
With RE challenges, I like the run the actual file towards the start of my investigation to get a general understanding of what might be happening behind the scenes.
Always maintain a certain vigilance when dealing with executables or files of any kind downloaded from the internet and ensure you have proper network isolation to prevent any nasty accidents.
Below we see that the ELF file wants us to supply an argument after calling it, we also saw this in the strings output above.

If we run it again, this time supplying it with any parameter, what happens?

Disassembler
This would be a good point to open up the file in a disassembler. My personal favourites are Cutter (GUI version of r2) and the NSA’s Ghidra (both are installed in remnux by default, but you can also install these on FlareVM or a VM of your choosing). Ida Pro is another option, but this will incur a significant financial cost for a pro license; for our purposes the two I have mentioned will suffice. To run either of the aforementioned disassemblers, we simply type the name in the terminal followed by & (to background the process) eg cutter&.
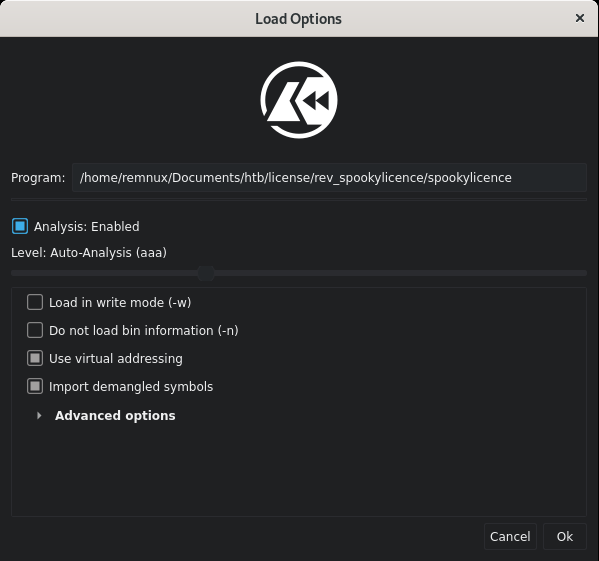
This will open the following dialog, where we will keep the default settings and open our file, then hit ‘Ok’.
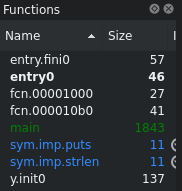
On quick inspection of this file’s ‘Functions’ list, we see the main function is helpfully still named main. We can double click this function to display it’s contents on the right. I like to start by viewing in ‘Graph’ mode to get a decent understanding of the application flow before I investigate further.
Looking at the main function in graph mode, we find our first piece of vital information about this file. In the middle-right graph block, we see a call to strlen (string length). It is using the cmp (compare) instruction to compare the rax register to 0x20, which is 32 in decimal (to do this conversion in Cutter, right click the value 0x20, then select ‘Set Immediate Base to… -> Decimal’). We can then see another je instruction (jump if equal) to the block on the far-right (green arrow). If not equal, the code flow moves to the left of the two blocks and will output the string ‘Invalid License Format’—we saw this earlier! Just from this view alone, we can surmise that the license key required is 32 characters long. Let’s test this.
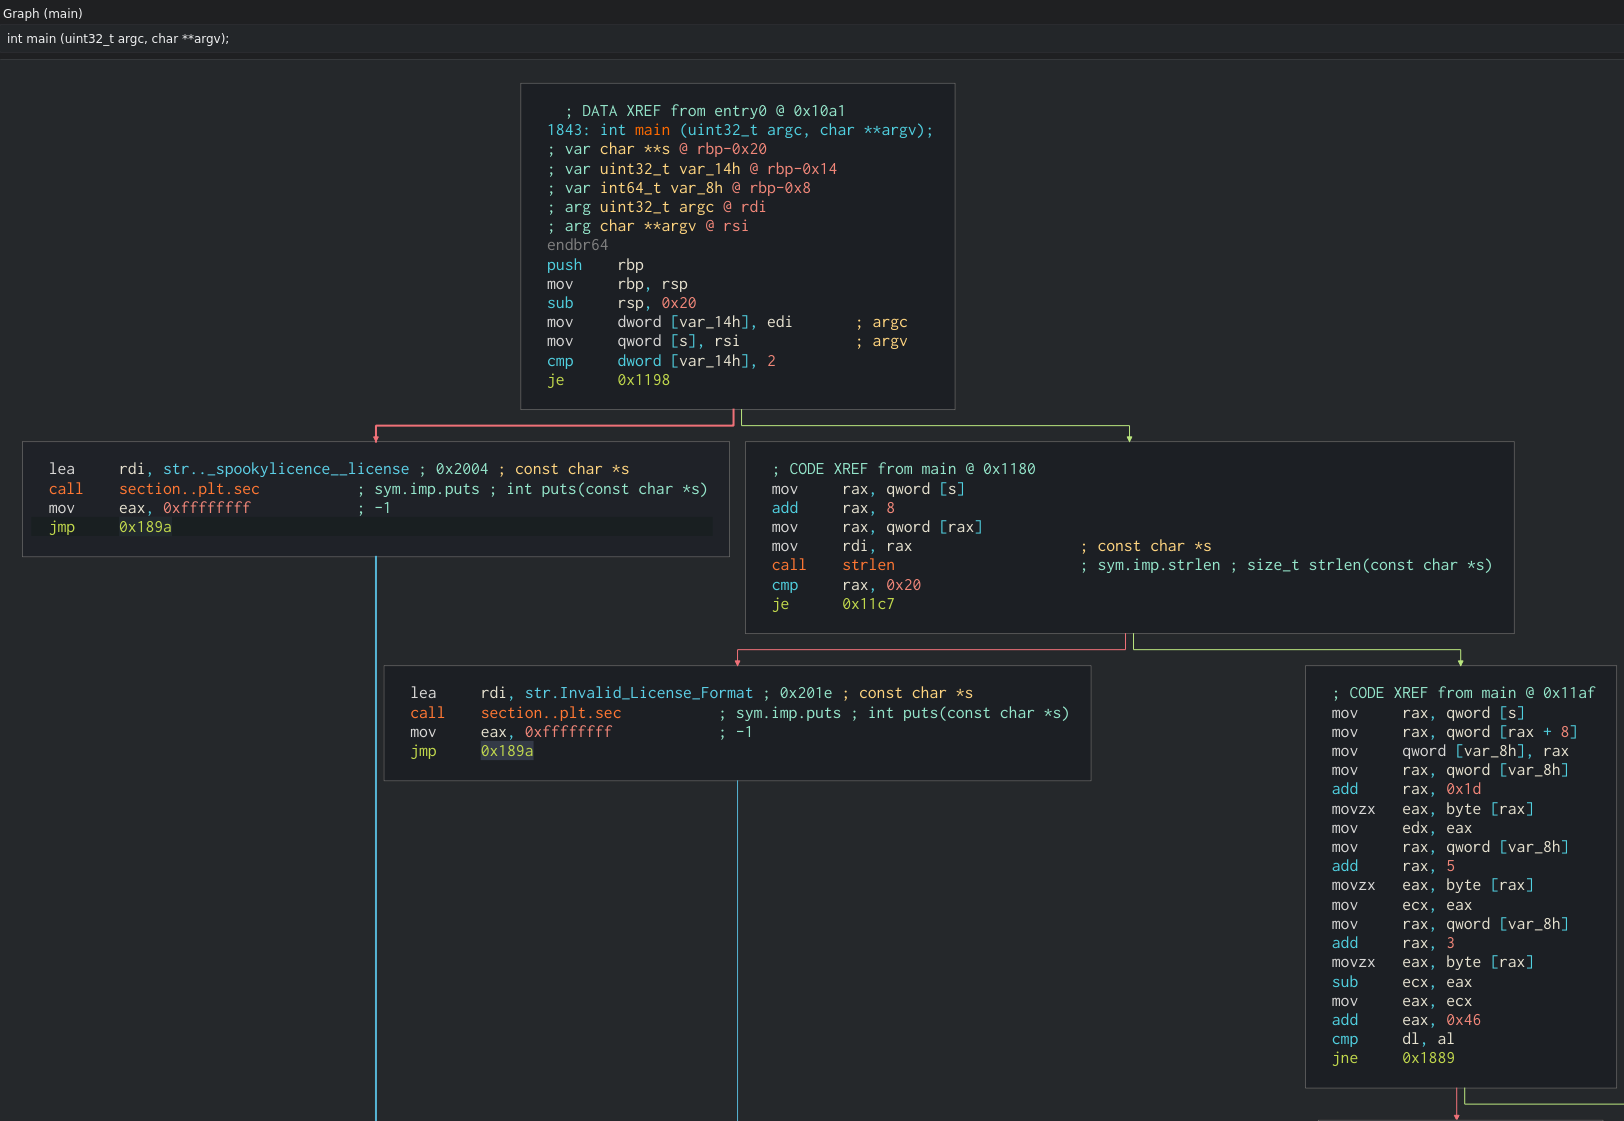
When supplying a licence of 32 characters in length, we receive a new error, ‘License Invalid’. In the screenshot above, we had satisfied the middle-right code block and taken the jump to 0x11c7, but now we are not satisfying the next condition (far-right block, comparison of dl,al registers) and are therefore taking the jne (jump if not equal) condition to address 0x1889. 0x1889 is a string of ‘Licence Invalid’—we have now confirmed our above theory to be correct.


Decompiler
Now that we know a little bit about the desired license argument length, we are still left with one crucial unanswered question—what is the licence key? The next logical step for us is to view the decompiled output of the main function. Both Cutter and Ghidra do an excellent job of decompiling this. Here is what the main function looks like in Cutter’s decompiler:
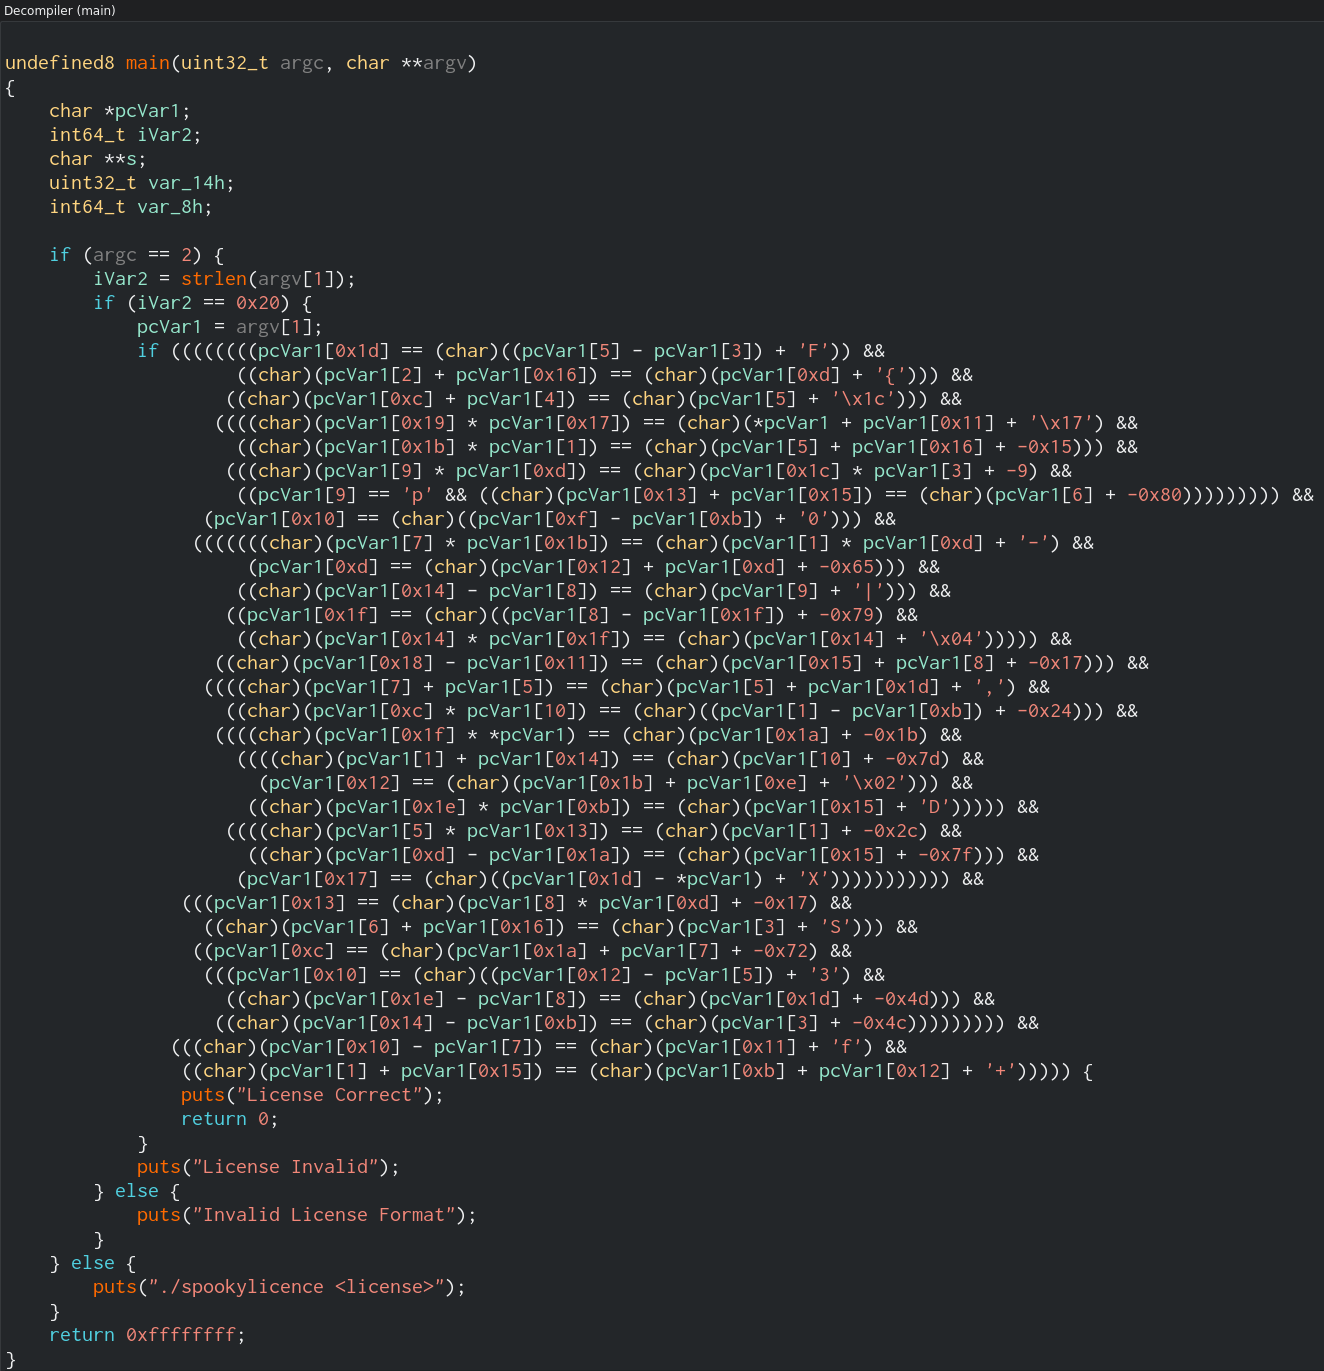
Decompilers will try their best to name variables for you, as you can see above with “pcVar1”; they will also attempt to translate assembly as close as they can to original source code. In the context of the above code, pcVar1 is being referenced with array positions (in square brackets) in multiple character formats. The first if statement is checking if we provided an argument. The second if statement checks for the length of 32 characters as we found before. The next part is the crux of the challenge—there is a set of 32 individual lines of calculations and comparisons; these cannot be done (as far as I know) by a human as we do not know the values of the array positions.
If we think back to our initial graph view, these comparisons are represented in the far-right assembly branch (these are not fully pictured above, they continue downwards 31 more times). Initially, I attempted to load the file in a debugger and set breakpoints at each cmp dl, al instruction to try and enumerate the key this way, but this failed. Eventually, I decided to research the internet for something that might be suited to solve this problem. That’s when I came across Microsoft Research’s Z3 (python package). With some help from a few resources, such as bi0s wiki, the following solution was made.
Solving with Z3 and Python
We can’t simply copy-paste the decompiled code into our Python script. Once copied from Cutter/Ghidra, we need to perform a few actions in our solving script:
- Convert each non-decimal/non-hex character to decimal, examples include ‘F’, ‘{’, ‘p’ etc. and remove (char) tags
- Before running script,
pip install z3-solver - Any lines that referenced the variable itself (eg: * *pcVar1) need to be fixed to call array position 0 — this would be lines 4, 18, 24
- Remove number of parentheses so that each line is able to be calculated independently by z3;
For example, the first line of interest:
if ((((((((pcVar1[0x1d] == (char)((pcVar1[5] - pcVar1[3]) + 'F')) &&
becomes (with the prefix addition of s.add from z3):
s.add(a1[0x1d] == ((a1[5] - a1[3]) + 70))
Our final z3 solving script after completing above tasks (snipped to fit):
## Using Microsoft's Z3 Theorem Prover to solve non-human guessable calculations.
## Note that Ghidra’s stock variable *pcVar1* has been renamed *a1* for readability in our script
from z3 import *
a1 = [
BitVec("a1[0]", 8),
BitVec("a1[1]", 8),
BitVec("a1[2]", 8),
...
BitVec("a1[30]", 8),
BitVec("a1[31]", 8),
BitVec("a1[32]", 8),
]
s=Solver()
s.add(a1[0x1d] == ((a1[5] - a1[3]) + 70))
s.add((a1[2] + a1[0x16]) == (a1[0xd] + 123))
s.add((a1[0xc] + a1[4]) == (a1[5] + 28))
s.add(((a1[0x19] * a1[0x17]) == (a1[0] + a1[0x11] + 23)))
s.add((a1[0x1b] * a1[1]) == (a1[5] + a1[0x16] + -0x15))
s.add((a1[9] * a1[0xd]) == (a1[0x1c] * a1[3] + -9))
s.add(a1[9] == 112)
s.add((a1[0x13] + a1[0x15]) == (a1[6] + -0x80))
s.add((a1[0x10] == ((a1[0xf] - a1[0xb]) + 48)))
s.add(((a1[7] * a1[0x1b]) == (a1[1] * a1[0xd] + 45)))
s.add(a1[0xd] == (a1[0x12] + a1[0xd] + -0x65))
s.add((a1[0x14] - a1[8]) == (a1[9] + 124))
s.add((a1[0x1f] == ((a1[8] - a1[0x1f]) + -0x79)))
s.add((a1[0x14] * a1[0x1f]) == (a1[0x14] + 4))
s.add((a1[0x18] - a1[0x11]) == (a1[0x15] + a1[8] + -0x17))
s.add(((a1[7] + a1[5]) == (a1[5] + a1[0x1d] + 44)))
s.add((a1[0xc] * a1[10]) == ((a1[1] - a1[0xb]) + -0x24))
s.add(((a1[0x1f] * a1[0]) == (a1[0x1a] + -0x1b)))
s.add(((a1[1] + a1[0x14]) == (a1[10] + -0x7d)))
s.add(a1[0x12] == (a1[0x1b] + a1[0xe] + 2))
s.add((a1[0x1e] * a1[0xb]) == (a1[0x15] + 68))
s.add(((a1[5] * a1[0x13]) == (a1[1] + -0x2c)))
s.add((a1[0xd] - a1[0x1a]) == (a1[0x15] + -0x7f))
s.add((a1[0x17] == ((a1[0x1d] - a1[0]) + 88)))
s.add((a1[0x13] == (a1[8] * a1[0xd] + -0x17)))
s.add((a1[6] + a1[0x16]) == (a1[3] + 83))
s.add((a1[0xc] == (a1[0x1a] + a1[7] + -0x72)))
s.add((a1[0x10] == ((a1[0x12] - a1[5]) + 51)))
s.add((a1[0x1e] - a1[8]) == (a1[0x1d] + -0x4d))
s.add((a1[0x14] - a1[0xb]) == (a1[3] + -0x4c))
s.add((a1[0x10] - a1[7]) == (a1[0x11] + 102))
s.add((a1[1] + a1[0x15]) == (a1[0xb] + a1[0x12] + 43))
if s.check():
    print(s.model())
This returns the char values for each array position, although they will be in the order they appeared in the decompiled code (starting with array position 14). In the script below, we rearrange these array positions from 0-31, then it is a matter of converting from char to ascii. This can be done in a variety of different ways. I chose to utilise the list, map and lambda functions of Python in a small script—this could also be done with CyberChef by choosing the ‘From Charcode’ recipe. Special thanks to @nullifysecurity for assistance with some of the Python.
a1 = [None] * 32
a1[14] = 48
a1[24] = 51
a1[15] = 48
...
a1[23] = 67
a1[18] = 101
a1[9] = 112

result = []

for i in range(len(a1)):
    try:
        result.append(a1[i])
    except IndexError:
        pass

decoded = []
decoding_two = ''.join(list(map(lambda a: chr(a), result)))
print(decoding_two)
Here’s our final result. This was a fun one and I learned something new, hope you did too!

